
You may want to duplicate a Ninox database for a number of reasons. Generally, this is to “sandbox” your production data. Some reasons you may want to do this are…
- For training – you don’t want to mess up live data
- For adding/testing new features – to ensure they work 100% and won’t cause damage to existing data
Step 1
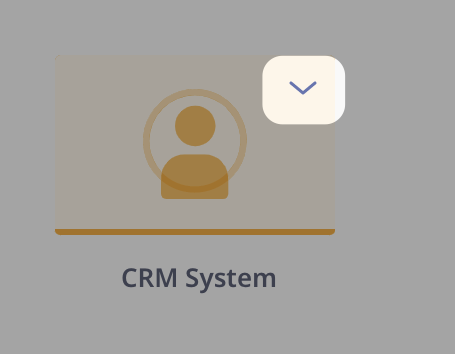
Firstly, visit the team view, however over the database you wish to copy, and click the dropdown arrow.
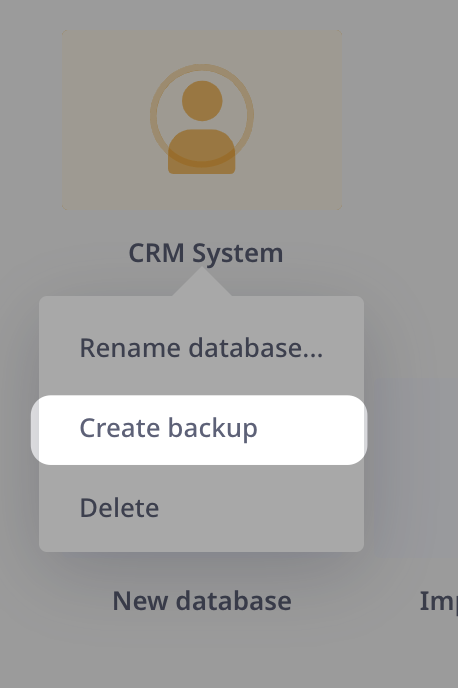
From the context menu, click “Create backup”
You can then specify what you wish to backup:
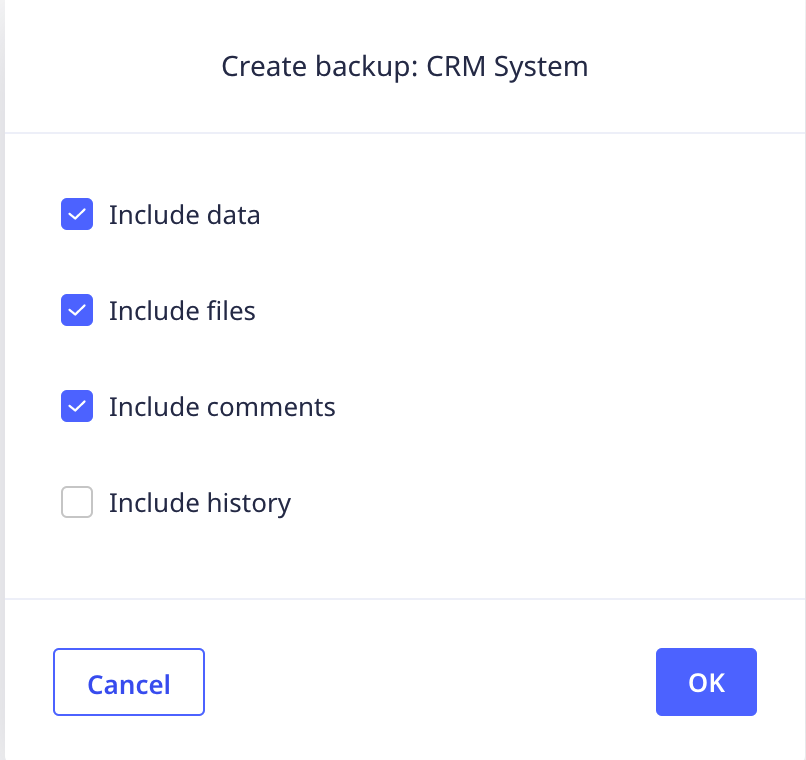
- Data – includes all of the added data inside your database. You would uncheck this option if you wanted to test a fresh version of the database, or create a copy to give someone that doesn’t contain your personal/business data
- Files – any uploaded files/attachments/images to the database. Typically this option makes the database export quite large
- Comments – this will include comments from Ninox’ comments section in the backup
- History – this will include record history in the backup.
Generally, if you want to create a complete backup, you would make sure all checkboxes are checked.
For testing, you may want to just include the information you need (e.g. just data). The more options you include, the larger the backup file will be.
Click OK once you’ve chosen what data you’d like to backup
Your backup will now generate. This could take a few seconds for small databases, but larger databases can take longer.
Restoring the backup
Backups can either be restored directly to the same Ninox team, or downloaded to be uploaded to a different Ninox team or the offline app versions.
We strongly recommend restoring to a separate team when making major changes to database structures or the data within them, especially for multi-user cases. (Read more in the glossary).
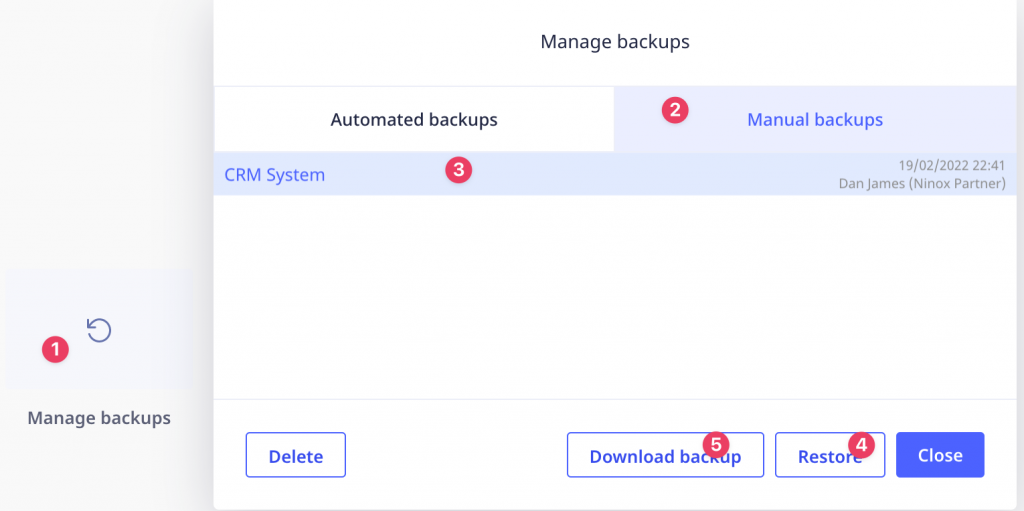
- Click the manage backups button
- Click the “manual backups” tab
- Click the backup you wish to restore (this will usually be the one with the timestamp you just created)
Restoring to the same team
Click the Restore button (4)
After a few moments, the database will appear in the same team with “(Restore)” appended to the name of the database.
Simply click into this database to access it.
Restoring to a separate team
- Click the Download Backup (5) button. The .ninox file will download to your default downloads folder.
- Go into the team you wish to restore the backup to (you may need to create a team)
- Click the “Import Archive” button in the team view
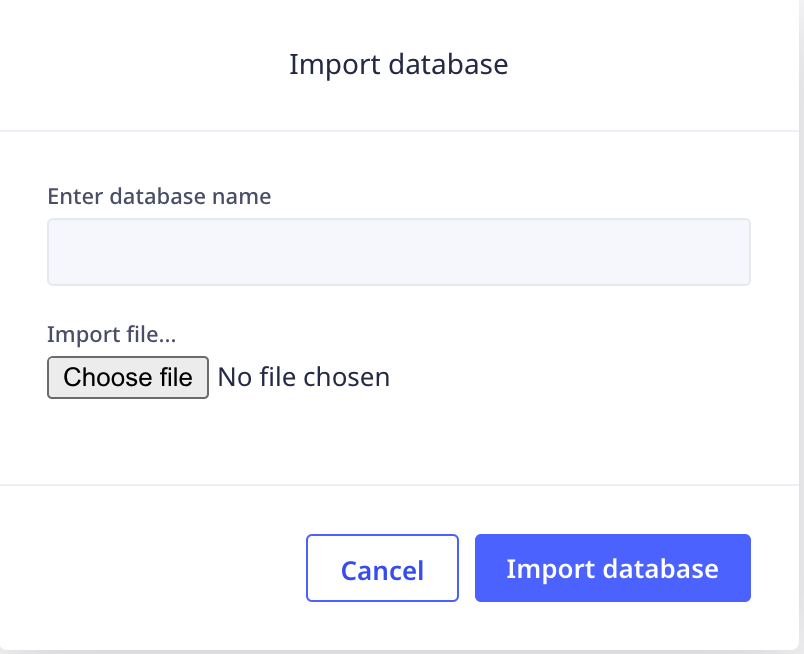
- Enter what you’d like the name of the database to be
- Choose your recently downloaded .ninox file from your downloads folder
- Click the “Import Database” button
You’ll see a progress bar as the file is being uploaded. Once completed, it may take a few seconds for the restored database to appear
Tips
- On Ninox Legacy, Professional and Private cloud, you can view the progress of backup/restore operations from the Background processes feature (database cyclinder icon near the top right of the screen)
- Keep your teams and databases organised – i.e. name them accordingly, and remove any databases that you aren’t actively using/developing in.
Troubleshooting
I’ve restored a database but it is not showing within the team?
It can take a few moments to import the database on the server-side after the restore process has started. You can view the progress in the background process manager. If it has completed, refresh the page (or switch back and forth to another Team) to refresh the data within the team view
I’m uploading a backup and its freezing/failing?
This could be for a few reasons including:
- The database was created using an older version of Ninox resulting in an error
- The backup file is very large, or requires more resources than those that are available to your account
If you’re experiencing this issue, please reach out to us.
Recent Comments